HOLY CRAP:
First, let me say: This is the sewing machine and stuff I got to work with.


 Needless to say, I was a little overwhelmed by all the little contraptions that came along. I have no idea what any of them do and I was freaking out because I couldn't figure out where the regular straight stitch foot thing was. I eventually found it, and after reading through the entire sewing machine manual, I felt comfortable with getting on with my project.
PROJECT:
I totally had this idea before they did it on Project Runway.
I got this bridesmaid dress about 1-2 years ago. Anyway, it was at an out of business sale, so it was like $5. I used it as a Halloween costume last year, but it doesn't actually fit (it fit when I bought it, damnit >.<) *sigh* so I thought what's the best thing to do with a too small gaudy bridesmaid dress? Make an awesome skirt for my next bombshell performance, of course!
So I essentially had no pattern to work from, and only a few online tutorials to help me understand what it is to make the fabirc look all scrunchy and old-timey. I'm not finished, but this is how it worked.
 So it looked like this, and I pined the front and back of the dress's fabric together and just started cutting. And by "just started" I mean I hemmed and hawed for about 40 minutes thinking, "Oh crap, I'm going to f*&# it up. Oh no... I can't do this. Ohgawd." Then I started cutting.
 IT WAS SCARY.
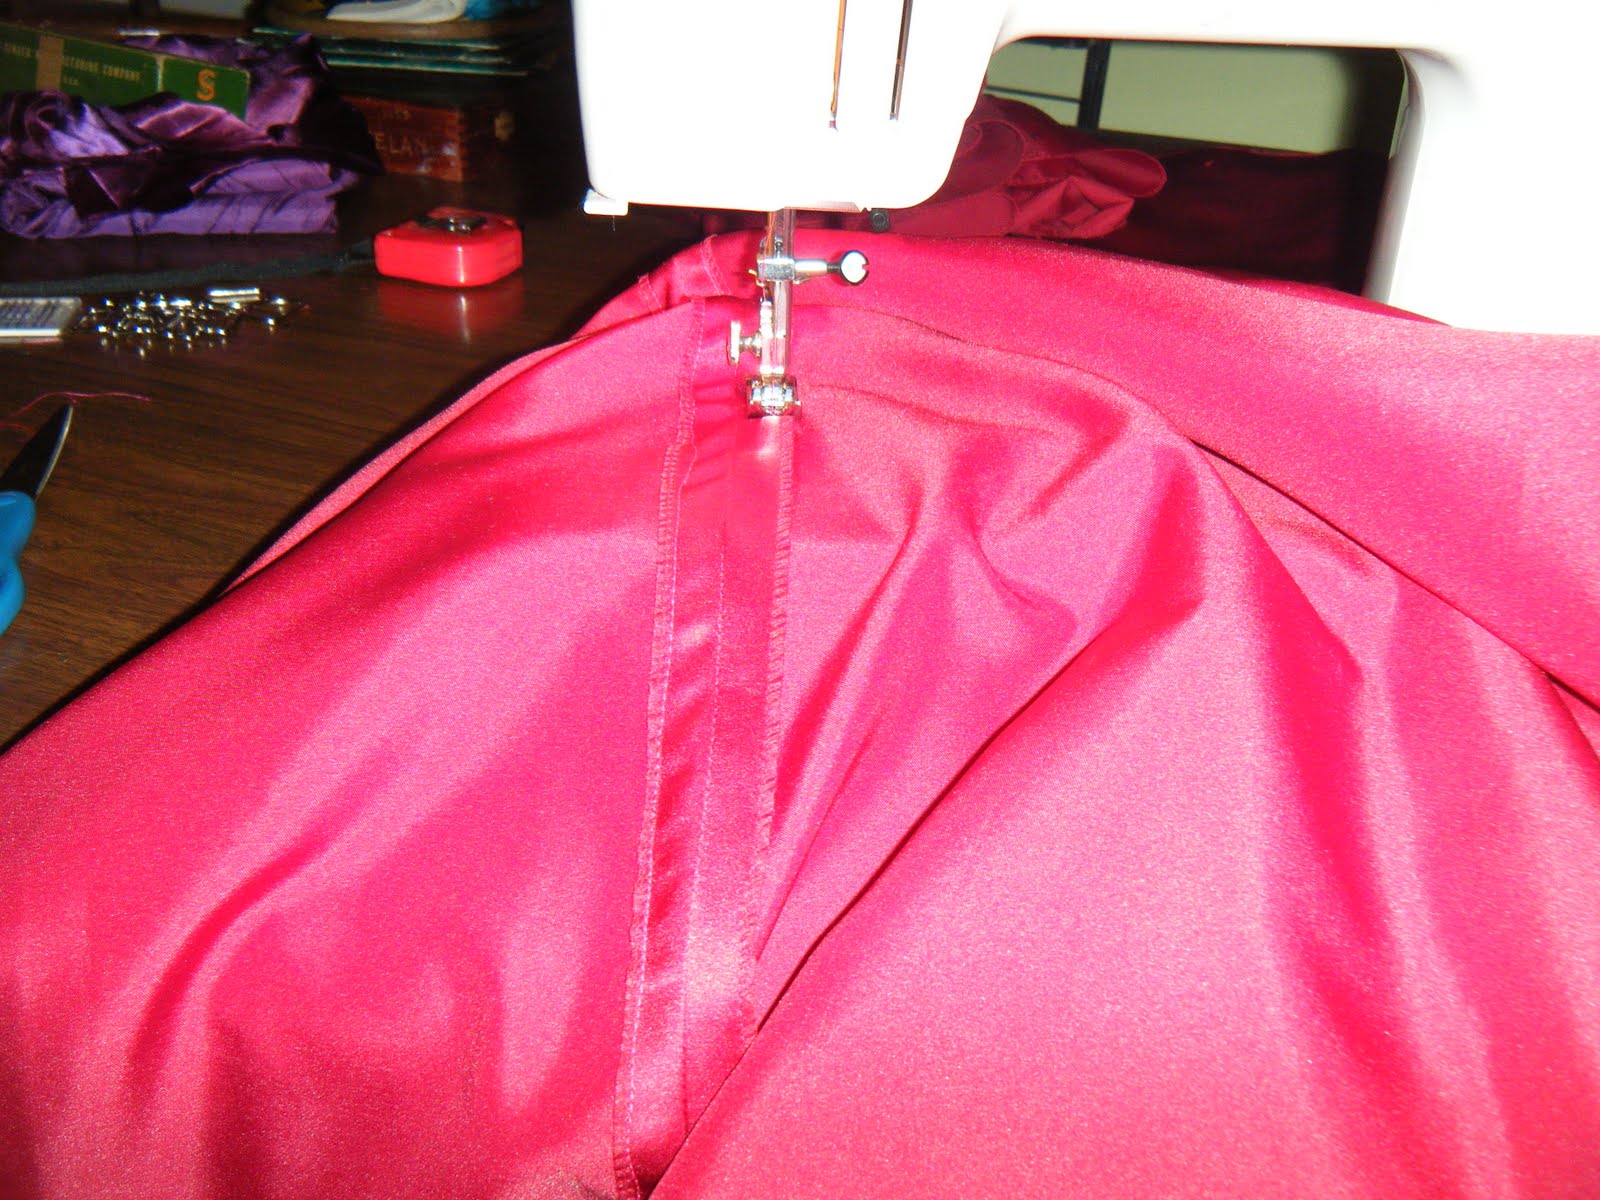 Luckily it already had ironed down seams on the inside, and I just sewed those down to make little channels for cord to go through. The hardest part was actually pushing this big blunt needle through those channels and bringing them all the way up them. When I finished that though, I just scrunched the fabric up the cord and tied the ends of the cord.
Made it look like this. ^
 Apollo approved. :D
"IT WAS SCARY"
ReplyDeleteHaha, love it ^_^ when do we get to see the finished product?